Introduction
You have a design in mind. Maybe it is your business logo, a custom monogram, or a piece of artwork you want to bring to life on fabric. You fire up your Bernette machine, load the file, and hit start. Nothing works. Or worse, the design comes out looking like a distorted mess with jagged edges and missing details. The frustration is real.
The problem is not your machine. Bernette machines are reliable workhorses that handle embroidery with precision. The issue is that your machine cannot read regular images. It reads stitch data. When we talk about Bernette Embroidery Design Conversion, we are talking about translating your artwork into a language your machine actually understands. This is the bridge between your creative vision and the finished product, and we are going to walk you through exactly how it works.
Why Your Image File Won't Work
This is the single biggest misunderstanding in embroidery. You cannot just take a JPEG or PNG and load it onto your Bernette machine. Regular image files only contain pixel and color information. They tell your screen what to display, but they tell your needle absolutely nothing about where to go or how to move .
Embroidery machines rely on special file formats that contain detailed instructions for the needle. These instructions tell the machine how to move, what stitch type to use, how dense the stitches should be, and in what order to complete the design . Without this data, your Bernette machine has no way of translating a design into thread on fabric.
The process of turning a regular image into a machine-readable embroidery file is called digitizing . It is the essential step that turns your flat artwork into a set of commands your machine can follow.
Understanding Bernette File Formats
Different embroidery machines speak different languages, and Bernette machines are no exception. The most common and reliable format for Bernette machines is EXP . This format is also used by Bernina and Melco machines, making it widely supported and dependable.
Here is what you need to know about Bernette file formats:
EXP is the primary format for Bernette machines. It preserves stitch information accurately and works seamlessly with the machine's system . If you save a design in the wrong format, it may not appear correctly on the screen. Colors can change, outlines may shift, or the machine might not read some stitch commands properly . Choosing the right format ensures your design stitches exactly as planned.
Many Bernette machines can also read other formats like PES, DST, VP3, HUS, and PEC . However, EXP is generally the best choice for reliable results.
Some Bernette models, like the b59, offer additional flexibility through the StitchDirect app. This app lets you create and edit embroidery designs directly on your smartphone or tablet and transfer them to the machine via WiFi . This makes it easier than ever to bring your ideas to life without needing a computer.
The Digitizing Process Step by Step
So how do you actually get from artwork to a working EXP file? Here is the workflow professionals use.
Step 1: Start with Clean Artwork
The quality of your finished embroidery depends heavily on the quality of your source material. Choose a high-resolution image such as a JPG, PNG, or AI file . A clear image ensures that every detail translates accurately during digitizing. Next, simplify your design by removing tiny details and thin lines, as these often do not stitch cleanly. Also, make sure there is strong color contrast between different parts of the design. This will help later when you match thread colors and define stitch areas .
Step 2: Choose Your Digitizing Software
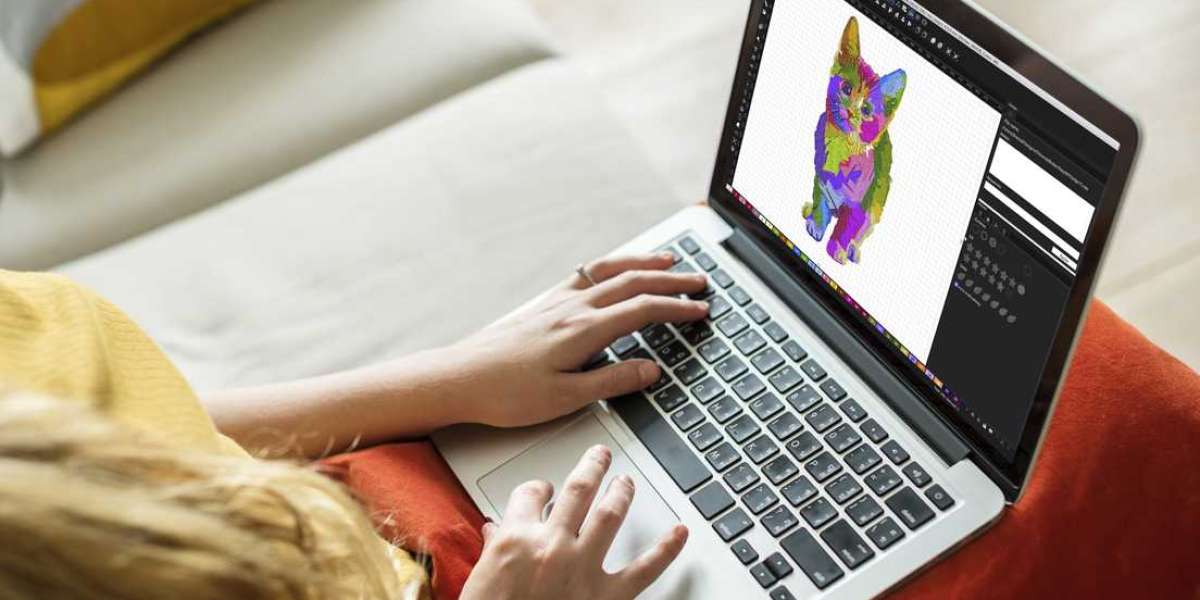
You need specialized software to turn your artwork into stitch commands. Bernina offers its Creator 9 software, which is designed to work seamlessly with Bernette machines . This software includes automatic digitizing for beginners, manual digitizing for more control, 60 lettering fonts, and over 380 built-in designs .
Other options include Wilcom Embroidery Studio E4, which is known for precision and reliability, and Hatch Embroidery Software . For those just starting out, free tools like Ink/Stitch can be a great way to learn the basics before moving to advanced software .
Step 3: Import and Digitize Your Artwork
Once your artwork is ready, open it in your digitizing software. Resize the design to fit your Bernette hoop size and position it correctly on the screen .
Now comes the creative part. You assign stitch types to different parts of your design. Satin stitches work best for borders, small text, and outlines. Fill stitches are used for large areas and give solid texture. Run stitches are ideal for fine lines and small details .
You also need to adjust the stitch direction carefully. This affects how the light reflects on the finished embroidery and how smooth the surface appears .
Step 4: Apply Underlay and Set Stitch Density
Next, add an underlay to stabilize the fabric. This prevents puckering and keeps the top stitches neat. Common types include center run, zigzag, and edge walk underlays .
Then, adjust the stitch density. For medium fabrics, around 0.4 mm to 0.45 mm is typical. For knits, use a looser density. For tougher fabrics like denim, make it tighter .
Step 5: Adjust Pull Compensation and Trim Commands
Now, apply pull compensation to counteract the fabric's natural stretch. This helps the design keep its original shape after stitching. Also, add trim commands between color changes to remove jump stitches .
Step 6: Assign Thread Colors and Sequence
Assign thread colors that match your artwork. Choose reliable thread brands like Madeira, Isacord, or Robison-Anton for consistent color quality. Arrange the color sequence to reduce unnecessary machine stops or thread changes .
Step 7: Preview and Test
Before saving, always preview the design in simulation mode. This lets you see exactly how it will stitch on fabric. Check for overlapping areas, gaps, or wrong entry and exit points. If anything looks off, fix it right away .
Step 8: Save in EXP Format
Once satisfied, export the file in EXP format, which works best with Bernette machines. Additionally, save a backup editable file so you can make future edits if needed .
Step 9: Transfer to Your Machine
Copy the EXP file to a USB stick and insert it into your Bernette machine. From the touchscreen, open your design and check the placement. Do a quick test run on scrap fabric to ensure everything stitches smoothly .
The Smart Alternative: Professional Services
Here is the honest truth. Mastering digitizing software takes time. If you are a business owner or someone who values their time, you might be better off outsourcing this task.
Professional digitizing services employ skilled digitizers who can create perfect Bernette files for a surprisingly affordable price. The process is simple: you upload your logo, choose your file format, and they send back a professionally digitized design, often within 12 hours . They handle all the technical details, ensuring your logo stitches out cleanly and looks professional on any garment.
Conclusion
Turning your artwork into a machine-ready Bernette embroidery file is not a one-click operation. It is a deliberate process that requires the right software, careful adjustments, and an understanding of how your machine reads stitch data.
Whether you choose to invest the time in learning digitizing software with tools like Bernina Creator 9 or outsource to a professional service, the goal is the same: to create a flawless EXP file that produces a design as sharp and professional as you envision. Your artwork deserves to look its best, and that starts with getting the file conversion right.