Introduction
There is a specific thrill in seeing your brand or personal logo stitched onto a jacket, a bag, or a uniform. It elevates the ordinary into something professional and personal. But that excitement can quickly turn to frustration when you realize your shiny PNG file means absolutely nothing to your embroidery machine. You cannot just plug and play. The machine speaks a different language, and that language is made of stitches and coordinates.
This is where the Logo to HUS Embroidery File process comes into play. A HUS file is the specific format that Husqvarna Viking machines read to create embroidery designs . It is not an image; it is a detailed set of instructions that tells your needle exactly where to go, when to change colors, and what type of stitch to use . We are going to walk you through the entire process of converting your logo into a stitch-ready file, so you can finally get that professional look you have been chasing.
Understanding the HUS Format and Its Place
Before we dive into the "how," let us clarify the "what." The HUS format is specifically designed for Husqvarna Viking embroidery machines . It was heavily used throughout the 1990s and has since been joined by newer formats like VP3 and VIP, which are often the preferred choices now . However, many modern Husqvarna machines still support HUS, and you will find it widely used in the digitizing world.
Think of a HUS file as a digital map for your machine. It contains all the necessary data: the coordinates for each stitch, the thread colors, and the commands for starting and stopping . Without this specific file type, your machine simply cannot interpret your logo. It would be like handing a novel written in English to someone who only reads Spanish.
The Big Misconception: Why You Can't "Just Convert" a JPG
This is the most common pitfall. Many people search for a simple "converter" to turn a JPG or PNG into a HUS file. Let us be clear: that is not how it works. A standard image file only contains pixel data about colors and shapes. It has no information about stitch paths, density, or pull compensation. An embroidery machine needs those instructions to function .
The process of creating a HUS file is called digitizing, not converting. It is a skilled craft where a designer uses specialized software to trace your logo and assign specific stitch types to each section . This is why free online converters are usually a trap. They either produce terrible, unusable results or are dangerous for your computer . There is no magic button that creates a perfect embroidery file from a picture.
Step-by-Step: Creating Your HUS File
If you are determined to do this yourself, you will need the right tools and a lot of patience. Here is the general workflow.
First, you need the software. Professional digitizers use powerful programs like Wilcom Embroidery Studio, Hatch, or Embird . These are not cheap and have a steep learning curve. For beginners, you might look into free options like Ink/Stitch, but understand that the results will not be as refined .
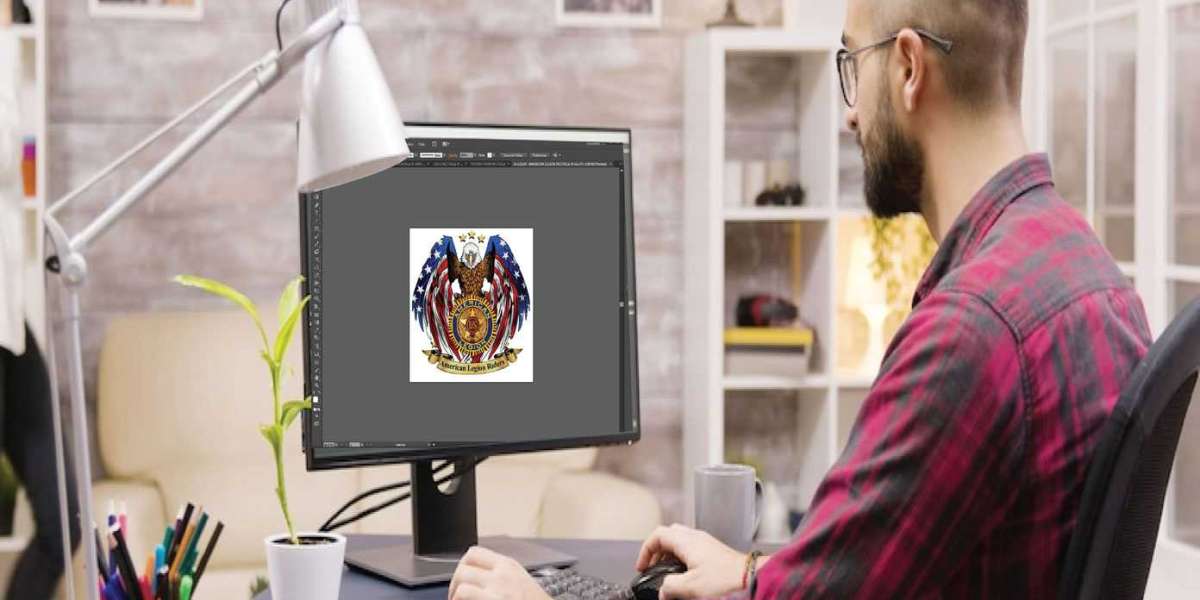
Once you have the software, the real work begins. You start by importing your high-resolution logo into the workspace . A clean, vector-based image (like an SVG) is ideal, but a high-quality PNG will work too. Next, you trace the outlines of your design. This is where you map out the paths the needle will follow . For text, you will likely use a satin stitch. For large filled areas, you will use a fill stitch, and for outlines, a simple running stitch .
This is where the art comes in. You have to adjust settings like density (how close the stitches are), underlay (a foundation layer that stabilizes the fabric), and pull compensation (which accounts for the fabric stretching as you sew) . Get these wrong, and your logo will look warped or puckered. Finally, once you are satisfied, you export the file. Look for the "save as" or "export" option and choose HUS from the dropdown menu .
The Smart Alternative: Hiring a Professional
If all of that sounds overwhelming, you are not alone. There is a reason professional digitizers exist. Creating a high-quality HUS file takes years of practice to master. You have to understand how different fabrics react to different stitch densities and how to make a design "sew out" cleanly .
If you value your time and want to avoid ruining expensive garments, hiring a digitizing service is often the most practical and cost-effective choice . These services employ skilled digitizers who use professional software to create flawless files. The process is simple: you send them your logo, choose your machine file format, and they send back a perfectly digitized HUS file, usually within 12 hours . The cost is surprisingly affordable, often starting at around ten dollars for a simple logo . For the price, you get a guarantee that your design will look professional and stitch out without a hitch.
Conclusion
Creating a HUS embroidery file from a logo is a journey from the digital world of pixels to the physical world of thread and fabric. It is a process that requires understanding, the right tools, and a bit of skill. While it is technically possible to do it yourself with dedicated software, the learning curve is steep.
For most people, the secret to a perfect logo patch is not learning to digitize; it is knowing when to outsource. Professional digitizers do the heavy lifting, ensuring your design looks crisp and sews smoothly. Whether you choose to learn the craft or hire a pro, the goal is the same: to turn your vision into a tangible, embroidered reality that lasts.