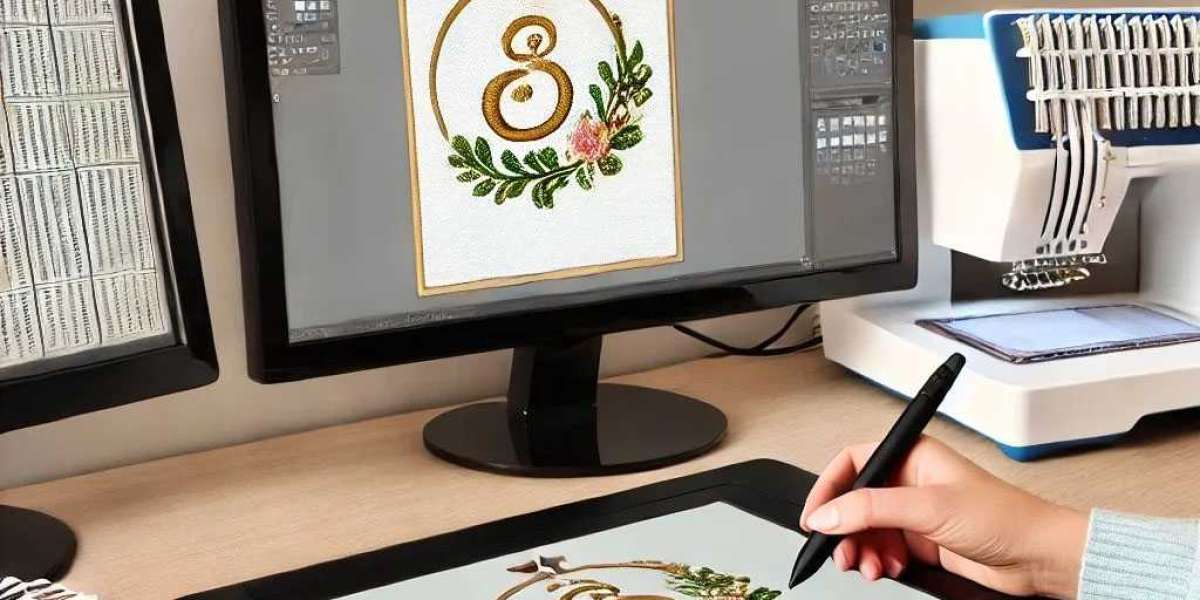
You have got a logo, a favorite illustration, or maybe even a handwritten note that you want to stitch onto a shirt, a bag, or a hat. But your embroidery machine is just sitting there, blinking at you, refusing to recognize your PNG or JPG. That is because your machine does not speak pixels. It speaks stitches. To get your design onto fabric, you need to create a PES file from an image. And here is the good news, you absolutely do not need to be a tech wizard or spend a fortune on fancy software to make it happen. Let me walk you through exactly how to do it, step by step, using tools that are either completely free or very beginner-friendly.
First, What Even Is a PES File?
Before we get our hands dirty, let us clear up a huge misconception. A PES file is not an image. You cannot just rename a .jpg to .pes and expect magic. A PES file is a set of instructions that tells your embroidery machine where to put every single stitch, when to change colors, and how dense the stitching should be . It is the blueprint for your design. The process of turning an image into this blueprint is called digitizing, and while it sounds technical, the tools available today make it surprisingly doable for beginners.
Step 1: Start with a Clean, Simple Image
Your starting image matters more than you might think. Embroidery machines love clarity and hate complexity. If your image has lots of tiny details, gradients, or dozens of colors, it is going to be a struggle to convert . Here is what you should aim for:
High contrast between the design and the background.
Bold, solid colors instead of gradients.
Text that is at least a quarter of an inch tall (small text becomes an illegible blob when stitched).
A transparent background if possible (PNG files are better than JPGs for this reason) .
Take a few minutes to clean up your image in a free tool like Canva or GIMP. Crop out unnecessary background, boost the contrast, and simplify the colors. Trust me, this small step will save you hours of frustration later.
Step 2: The Free and Powerful Option – Ink/Stitch
If you want to digitize your own designs for free, Ink/Stitch is the undisputed champion . It is an open-source extension that works inside Inkscape, which is also a completely free vector graphics program. It has a learning curve, but it gives you total control over the final result.
Here is the step-by-step workflow:
First, download and install Inkscape from its official website. Then, head over to the Ink/Stitch website and install the extension. Once you restart Inkscape, you will see an Ink/Stitch menu at the top .
Now, import your image into Inkscape. If your image is a PNG or JPG, you need to convert it into a vector format so Ink/Stitch can understand it. Select your image, go to Path Trace Bitmap, and play with the settings until the preview looks clean . Click Apply, and you have got a vector version of your design.
Next comes the digitizing part. Select your vector design, go to Extensions Ink/Stitch Params. This opens a window where you can preview your design as an embroidery pattern and adjust the stitch settings. You can choose fill stitches for large areas, satin stitches for borders, and running stitches for fine details . You can also adjust stitch density and underlay settings to suit your fabric.
A crucial tip: Ink/Stitch builds designs from the bottom up, meaning the object on the lowest layer stitches first . You can preview exactly how your design will stitch by going to Extensions Ink/Stitch Visualize and Export Simulator . This is a lifesaver for catching errors before you waste thread and fabric.
Once you are happy with the preview, go to Extensions Ink/Stitch Export and select .PES from the dropdown . Save the file to your computer.
Step 3: The Beginner-Friendly Option – SewArt
If Ink/Stitch sounds a bit too hands-on for your first attempt, SewArt is a fantastic alternative. It is an affordable auto-digitizing software that comes with a 30-day free trial . The best part? It has a built-in Image Wizard that guides you through the whole process of reducing colors and removing backgrounds. With just a few clicks, SewArt can auto-assign stitches to each color region, making it incredibly beginner-friendly . The free version limits you to six colors per design, which is often enough for simple logos and graphics .
Step 4: The Convenient Option – Online Converters
If you need a quick conversion for a very simple design, online tools like OnlineConvertFree or Convertio can do the job . You simply upload your image, select PES as the output, and download your file. No software to install, no account to create.
However, I have to give you a reality check. These automated tools use algorithms to guess where stitches should go, and they are not very smart . For a simple silhouette or a bold, solid-color logo, they might produce acceptable results. But for anything with gradients, small text, or overlapping elements, the result is often a mess with distorted stitches, poor color matching, and thread breaks . I would not trust an online converter for a professional logo or a complex design.
Step 5: The Foolproof Option – Hire a Professional
If your design is complex, if it is your brand logo, or if you simply do not have the time or patience to learn digitizing software, hiring a professional digitizing service is the smartest move . For a very reasonable fee, usually starting around ten to fifteen dollars, a human digitizer will manually create your PES file using professional software. They will optimize the stitch density, pull compensation, and underlay for your specific fabric. You get a flawless file delivered to your inbox, ready to stitch.
Step 6: Test Before You Commit
No matter which method you choose, always, always test your PES file on a piece of scrap fabric that is similar to your final garment . This is your chance to spot any density issues, thread tension problems, or color order errors before you ruin a perfectly good shirt. Run the test, make notes, and if something looks off, go back and tweak your file.
Conclusion
Creating a PES file from an image is a skill that anyone can learn. You have got options that fit every budget and skill level. You can go the free-but-challenging route with Ink/Stitch, the beginner-friendly path with SewArt, the quick-and-dirty option with online converters, or the hassle-free approach with a professional digitizer. The key is to start with a clean, simple image and always test your file before you stitch on your final project. So go ahead, grab that image, pick your method, and start stitching. Your embroidery machine is ready, and with the right PES file, you are going to create something amazing.