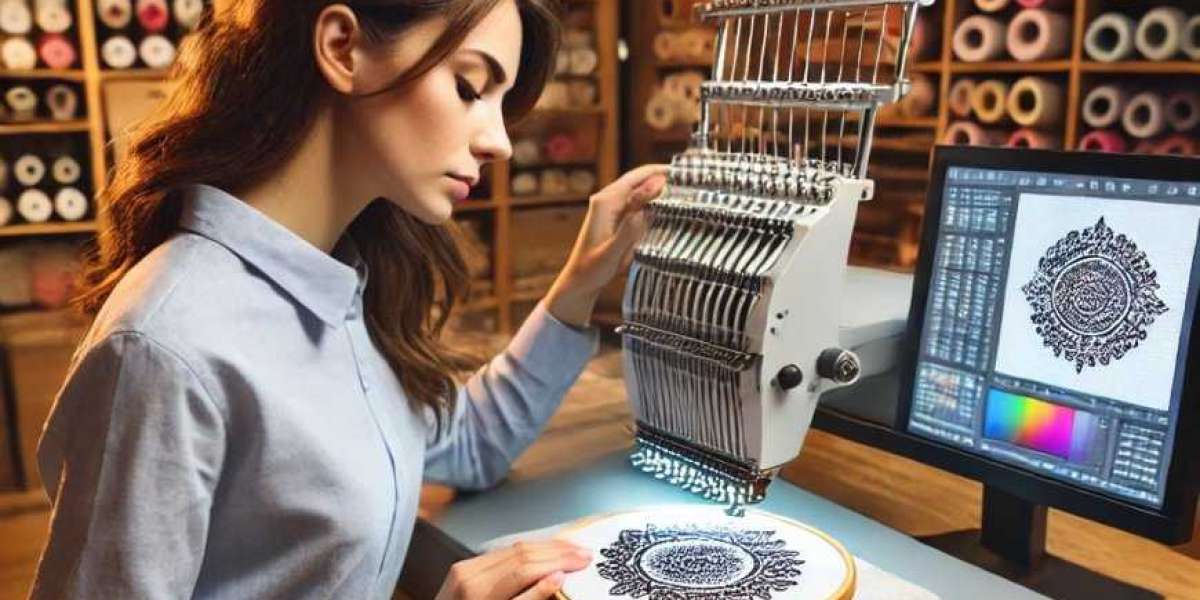
You have got your artwork ready. You have got a stack of polos, caps, and jackets waiting to be transformed. But there is a world of difference between a design that looks good on screen and one that stitches out perfectly on a curved cap, a tiny left chest, or a thick jacket back. Each placement has its own quirks, its own challenges, and its own requirements for a flawless finish. This is where professional Embroidery Digitizing Services prove their worth. They do not just convert your artwork, they tailor every single stitch to the specific placement and fabric you are working with. Let me break down exactly what makes each of these applications unique and how the pros handle them.
Left Chest Logos: Small but Mighty
The left chest is the most common placement for corporate logos, team uniforms, and branded polos. It is a prime spot that gets noticed without overwhelming the garment. But the small size means there is zero room for error. A professional digitizer knows that these logos typically need to be between 3 and 4 inches wide to look balanced and readable . The goal is to make your branding crisp and visible without screaming for attention.
Here is the challenge. At this small scale, every detail matters. Thin lines can become invisible, and tiny text can turn into an illegible blob. Pros recommend keeping text at least a quarter of an inch tall and using bold, clean fonts that hold their shape . They will also simplify complex gradients and focus on clear outlines because embroidery has physical limits that digital screens do not. Underlay stitches are another critical factor, they provide stability without adding bulk, and the digitizer adjusts pull compensation so the design does not distort as the needle pulls the fabric . For a left chest logo, the perfect size and clean execution are what make it look professional rather than amateurish.
Hat Embroidery: Conquering the Curve
Hats are a whole different ballgame. Unlike flat garments, caps curve, they flex, and they often have that dreaded center seam right where you want to stitch . This is advanced territory, and treating a hat like a shirt is a recipe for disaster. Professional digitizers approach hats with a completely different strategy. They know that designs need to be modest in size, usually topping out at around 2.25 inches tall and 4.5 inches wide for a structured baseball cap .
The center seam is the biggest challenge. If your design falls directly on it, stitches can get swallowed up into the fold, creating gaps and an uneven look . To counter this, a digitizer will stitch from the center outwards and from the bottom up, which helps balance tension and smooth the fabric . They also add a reinforced underlay or design around the seam to keep things stable . Pull compensation is even more critical here because the curved surface pulls in multiple directions. Use the wrong density or the wrong underlay, and you will get thread breaks or a design that simply does not look right . A professional knows exactly how to adjust every setting to make your logo look sharp on a curved canvas.
Jacket Back Embroidery: Going Big
Jacket backs are the opposite of hats. This is where you get to go big and make a statement. But with size comes a whole new set of challenges. Jacket fabrics vary wildly, from thick fleece to sturdy denim to slippery nylon, and each one requires a different approach . On a fleece jacket, the fuzzy texture can actually swallow stitches, so digitizers often increase stitch density and underlay to make the design stand out . On denim, which has limited stretch, they adjust push and pull compensation differently than they would for a stretchy fabric .
Placement is also crucial. For the back of a jacket, a standard height is between 10 and 12 inches, centered between the side seams and placed about 7 to 9 inches down from the shoulder seam . Large designs also run up the stitch count significantly, sometimes exceeding 80,000 stitches for a detailed logo . This means the digitizer has to carefully optimize the stitching order to minimize thread trims and keep the machine running smoothly. A professional digitizer does not just scale up a small design; they rebuild it from the ground up to handle the size, the fabric, and the prominence of the placement.
Conclusion
Getting embroidery digitizing for left chest logos, hats, and jackets is not a one-size-fits-all process. Each placement demands a specialized approach, from the tiny, precise details of a left chest logo to the curved challenge of a cap to the large-scale demands of a jacket back. A professional digitizing service understands these differences and adjusts every setting, from density and underlay to pull compensation and stitch order, to ensure a flawless result. So the next time you are planning an embroidery run, choose a digitizer who understands the nuances of your specific placement and fabric. Your garments will look sharper, your brand will look more professional, and you will save yourself a world of frustration.